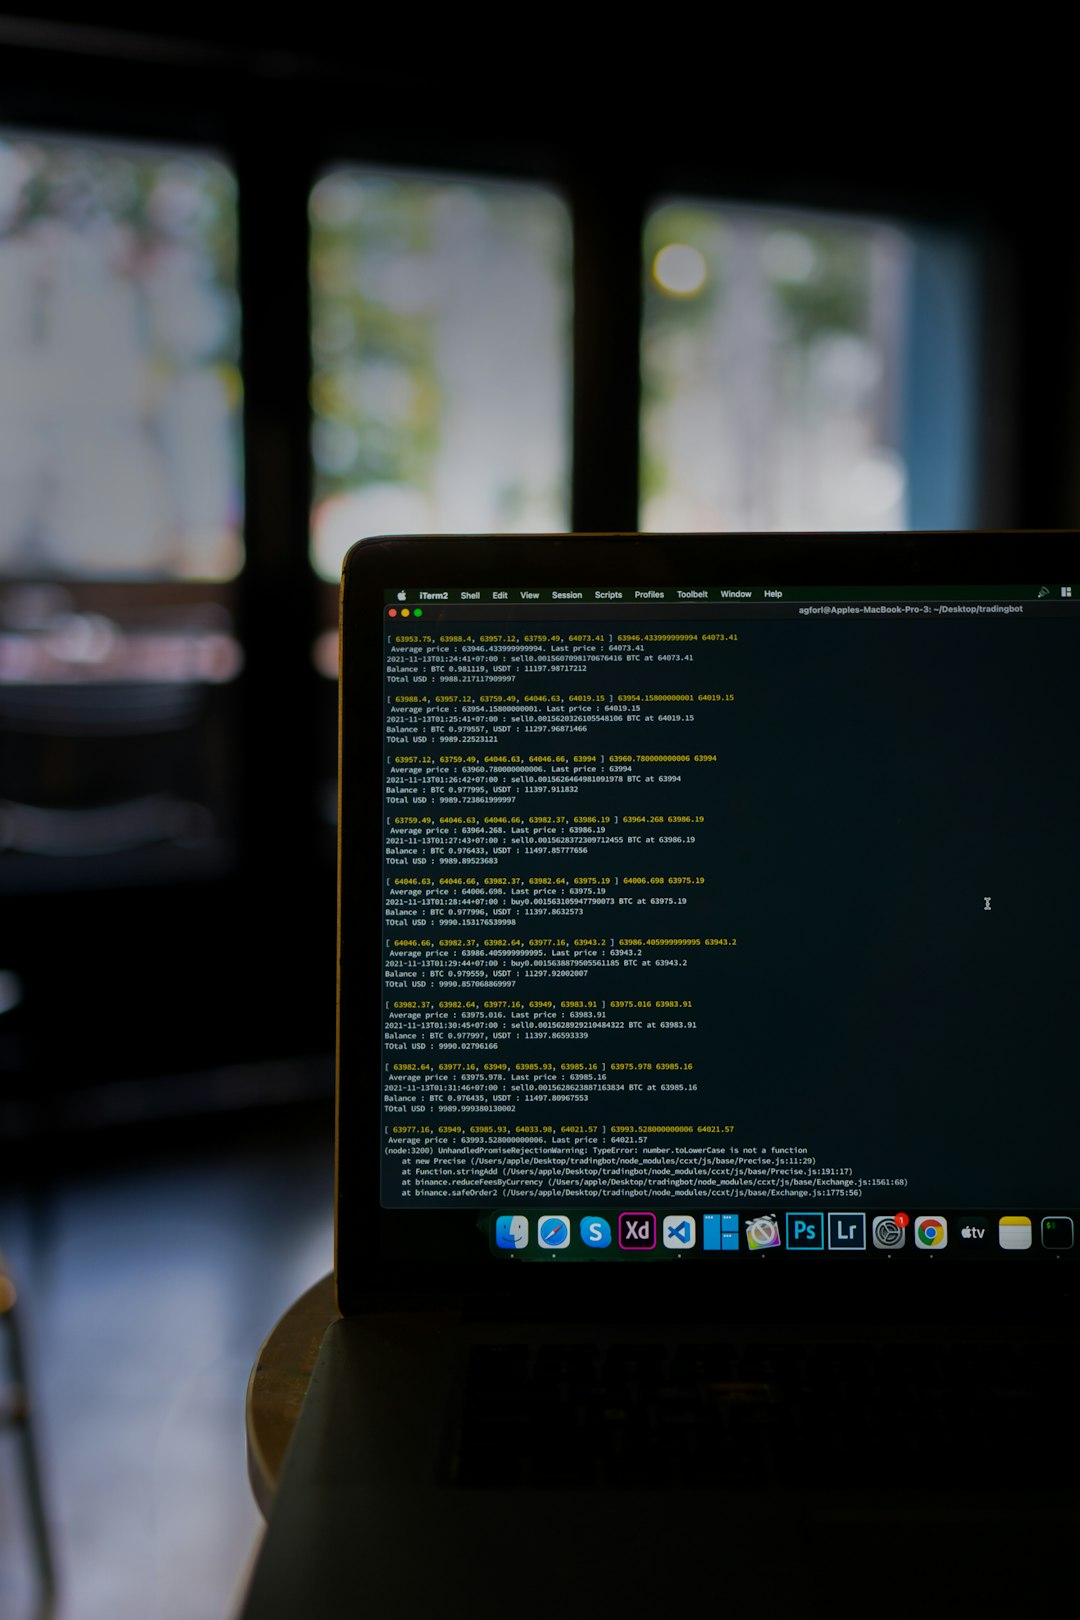
If you’re a developer using a Mac, you’ve probably heard about Xcode. But what if you just want the command line tools and not the entire heavy Xcode package? You’re in luck! Apple lets you install the Xcode Command Line Tools separately. And yes, it’s super easy!
This guide will walk you through each step. Plain and simple. Whether you’re a beginner or just new to macOS, you’ll have those tools installed in no time. Let’s dive in!
🚀 Why You Might Need Xcode Command Line Tools
Let’s say you want to use Git, Homebrew, or GCC. You’ll need these tools. Even if you don’t want to build full macOS apps, many developer tools depend on the Xcode Command Line Tools to work properly.
Here’s what it gives you:
- Git – version control
- make – build automation
- gcc/clang – compilers
- Header files and libraries – programming essentials
Pretty cool, right?
📦 Step 1: Check If It’s Already Installed
Before installing anything, let’s check if it’s already there. Open your Terminal. You can find it in Applications > Utilities. Or just search for “Terminal” using Spotlight (Cmd + Space).
Type this command and hit enter:
xcode-select -pIf you see a path like /Library/Developer/CommandLineTools, congrats! It’s already installed.
If you see an error instead, don’t worry. We’ll fix that next.
📥 Step 2: Start the Installation
Time to install! Type this command in the Terminal:
xcode-select --installThis will open a small pop-up window. It will say something like, “The xcode-select command requires the command line developer tools. Would you like to install them now?”
Click Install.

Now sit back and let macOS download and install everything. It’s about 200MB, so it shouldn’t take long if your internet is decent.
📡 What If the Pop-Up Doesn’t Show?
Sometimes, nothing happens when you run that command. Annoying, right?
Try this instead:
- Go to Apple’s Developer website: https://developer.apple.com/download/all/
- You’ll need to sign in with your Apple ID.
- Search for “Command Line Tools“.
- Download the latest version that matches your macOS version.
This method gives you a .dmg file. Just open it and follow the usual install steps.
🔍 Step 3: Confirm It Works
Once the installation finishes, it’s time to verify. Open Terminal again and type:
xcode-select -pIf you see the proper path, you’re all set!
You can also test it by typing:
git --versionIf you get a version number, congratulations! Git is working. 🎉

🧠 Bonus: Switch Between Installed Versions
Did you know? You can have full Xcode and the command line tools installed at the same time.
To switch between them, use:
sudo xcode-select -s /path/to/xcodeOr to point it back to the command line tools:
sudo xcode-select -s /Library/Developer/CommandLineToolsJust be sure you know what you’re doing. Most people don’t need to touch this!
🔧 Common Issues and How to Fix Them
Uh-oh! Running into a problem? Let’s fix that.
- “xcrun: error” – This means it’s not installed or got messed up. Try reinstalling.
- Pop-up never shows? – Use the direct download method mentioned earlier.
- Can’t run gcc? – Again, make sure the tools are correctly installed and selected.
Still stuck? Restart your Mac. It works more often than you’d think. 😅
🧽 How to Uninstall Xcode Command Line Tools
Changed your mind? You can remove them easily.
Type this in Terminal:
sudo rm -rf /Library/Developer/CommandLineToolsPoof! They’re gone. You can reinstall later if needed.
🏁 Final Thoughts
And that’s it! You now have the Xcode Command Line Tools installed. You’re ready to start coding, installing packages, using Git, or building cool things from source.
This tiny but powerful toolkit is a must-have for any Mac developer. And now—you’ve mastered it!
Go ahead. Type gcc or make and see that magic happen!

Happy coding! 💻✨
