
WordPress is a powerful and flexible platform, but even the best software can run into problems. One of the most alarming issues for users is the dreaded message: “There has been a critical error on your website.” While this notification might induce panic, the cause is often simple and fixable—especially when the issue stems from a problematic plugin. Fortunately, WordPress developers introduced Safe Mode Plugins as part of the Site Health troubleshooting tools, making it easier than ever to identify and fix these critical errors without fully breaking the site.
Understanding the “There Has Been a Critical Error” Message
This error is typically presented on a blank screen and may also be accompanied by an email from WordPress with more detailed information. The error can be the result of several problems:
- Plugin conflicts
- Theme incompatibilities
- PHP version mismatches
- Corrupt files
- Server resource limitations
However, the most common cause—by far—is incompatible or faulty plugins.
What Are Safe Mode Plugins?
WordPress introduced Safe Mode with the Health Check & Troubleshooting plugin. Safe Mode is a diagnostic feature that allows site administrators to simulate a clean WordPress installation without affecting the site’s frontend for regular visitors. Only the logged-in administrator will see the version of the site with Safe Mode active.
When using Safe Mode, you can deactivate all plugins and activate them one by one to identify which is causing the issue. This is particularly helpful when your site isn’t loading properly or is displaying the “critical error” message.

Steps to Fix the Error Using Safe Mode Plugins
Follow these carefully laid-out steps to resolve the issue using Safe Mode:
1. Access Your Site
If the frontend is broken, you may still be able to log into your WordPress admin via yourdomain.com/wp-admin. If even this is unavailable, proceed to disable plugins manually via FTP or your hosting control panel’s file manager.
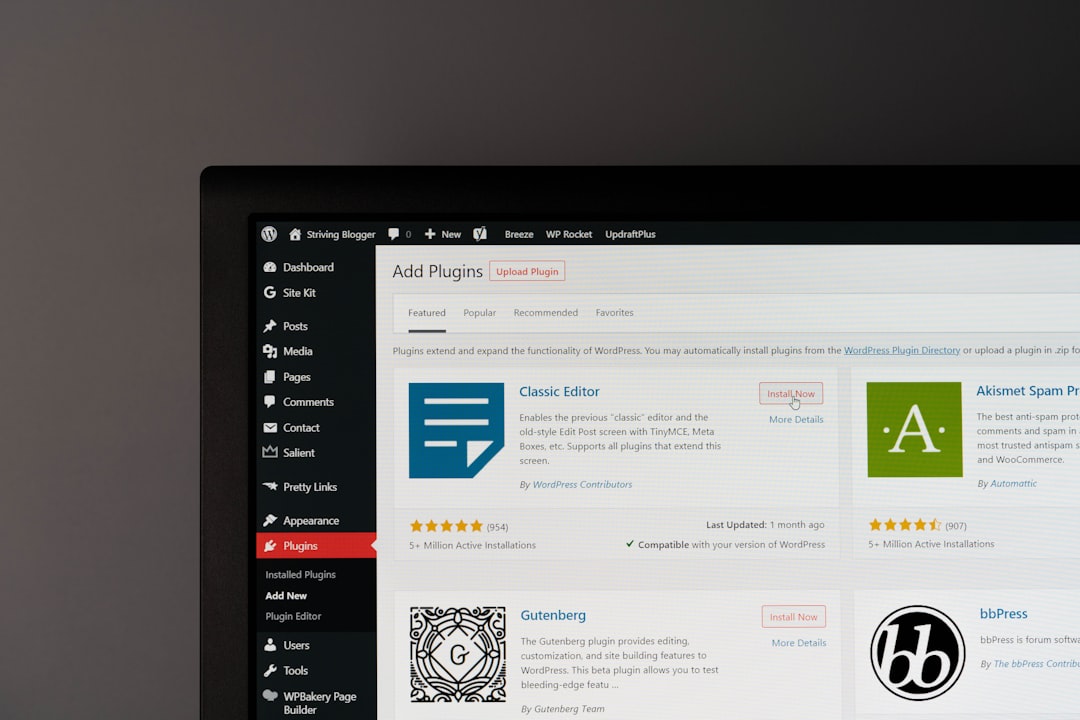
2. Install the Health Check & Troubleshooting Plugin
Once logged in, navigate to Plugins > Add New and search for “Health Check & Troubleshooting.” Install and activate this plugin.
3. Enable Troubleshooting Mode
After activation, go to Tools > Site Health. From there, click the Troubleshooting tab and enable Troubleshooting Mode. This will deactivate all plugins and switch to a default theme—but only for you.
Your site will look and function normally for other visitors, which makes this an ideal way to debug live issues.
4. Isolate the Problem
Start activating plugins one by one. After each activation, refresh the page or navigate through different parts of your site. The moment you see the critical error reappear, you’ve likely found the problem plugin.
5. Solve or Replace
Once the problematic plugin has been identified, you have a few options:
- Check for available updates to the plugin.
- Contact the developer or check the plugin’s support forums.
- Find an alternative plugin that offers the same functionality.
6. Exit Safe Mode
Once resolved, return to the Troubleshooting tab in Site Health and click Disable Troubleshooting Mode. This restores your real plugin and theme settings.
Using FTP as a Backup Plan
If you’re unable to access the WordPress Admin area at all, you can still troubleshoot manually using FTP:
- Connect to your site through an FTP client such as FileZilla or through your hosting provider’s file manager.
- Navigate to
/wp-content/plugins. - Rename the folder of a suspected plugin (e.g., from plugin-name to plugin-name-disabled).
- Check if the site comes back online. If it does, that plugin was the culprit.
Although this isn’t as user-friendly as Troubleshooting Mode, it still works effectively and is often the best option in critical scenarios.
Prevention is Better Than Cure
To avoid encountering critical errors in the future, consider the following best practices:
- Update Frequently: Always keep WordPress, themes, and plugins up to date.
- Use Reputable Plugins: Install only popular and well-reviewed plugins from the official WordPress repository.
- Regular Backups: Use backup plugins or your host’s inbuilt functionalities to regularly back up your site.
- Test Before Deploying: If your site is mission-critical, consider using a staging environment for testing new plugins or updates.
- Monitor PHP Warnings: Enable debug logging so you can spot issues before they become major problems.
Conclusion
Encountering a critical error on your WordPress site can be a nerve-wracking experience. However, with tools like the Health Check & Troubleshooting plugin and Safe Mode capabilities, resolving these errors is quicker and safer than ever before. Whether you’re a novice administrator or a seasoned developer, leveraging these tools can help you regain control and restore functionality to your site swiftly and effectively.
FAQ
-
What causes the “There has been a critical error” message in WordPress?
The message is usually caused by plugin conflicts, outdated software, theme issues, or PHP problems. -
Is Safe Mode available by default in WordPress?
No, you need to install the Health Check & Troubleshooting plugin to access Safe Mode functionality. -
Will enabling Safe Mode affect site visitors?
No, Safe Mode changes are only visible to the logged-in admin. Your visitors will see the site as usual. -
Can I use Safe Mode to test new plugins?
Yes, Safe Mode is a great way to test plugin compatibility without risking your live site’s functionality. -
What should I do if I can’t log into WordPress admin?
Use FTP or your hosting control panel file manager to disable plugins manually by renaming their folders.