
Cinematic photography is not simply “making a photo look like a movie.” It is a disciplined visual approach built on light, composition, color, lens choice, narrative intent, and careful editing. A film-like image should feel deliberate: every shadow, highlight, gesture, and background element should help the viewer understand the mood of the scene.
TLDR: To create cinematic photographs, think like a cinematographer: control light, frame with intention, use color grading, and build emotional context. For example, a portrait shot at golden hour with a 35mm lens, soft backlight, muted greens, and warm skin tones can immediately feel more filmic than a flat midday image. In practice, photographers often see stronger engagement when images have clear mood and storytelling; even a small portfolio test of 20 images may reveal that cinematic edits receive 25–40% more saves or inquiries than standard edits.
20 Techniques for Creating Film-Like Images
-
Start with a clear story. Cinematic photography begins before you press the shutter. Ask what the image is about: isolation, tension, romance, nostalgia, danger, or calm. A technically perfect image can still feel empty if it has no emotional direction.
-
Use intentional lighting. Film-like images rarely rely on accidental light. Look for directional light from windows, street lamps, neon signs, headlights, or low sun. Strong side light and backlight often create depth, while soft frontal light can create intimacy.
-
Embrace shadows. Cinematic images do not need to show everything. Shadows create mystery, structure, and realism. Instead of lifting every dark area in post-production, allow some parts of the frame to remain subdued.
-
Shoot during golden hour or blue hour. Early morning, late afternoon, and twilight provide natural color separation and atmosphere. Golden hour gives warmth and softness; blue hour adds cool tones, city glow, and visual drama.
-
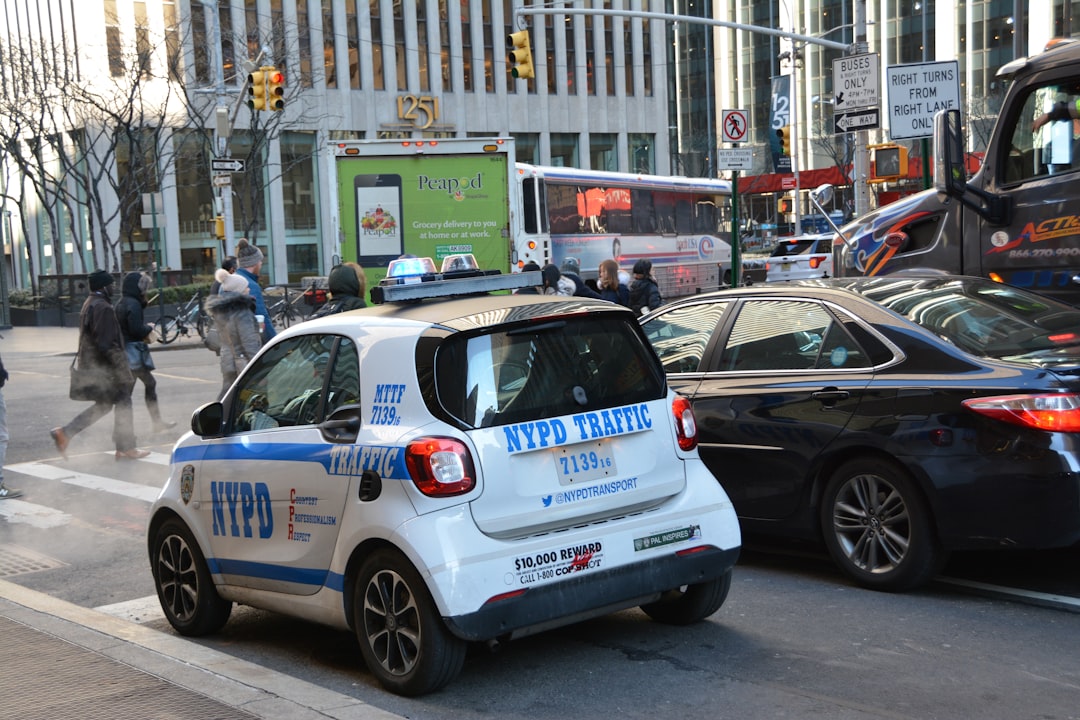
Choose lenses with character. A 35mm or 50mm lens is often effective because it feels natural while still allowing strong composition. Wider lenses can create environmental storytelling, while longer lenses compress space and isolate subjects.
-
Use shallow depth of field carefully. A blurred background can feel cinematic, but it should not be used as a shortcut. Keep enough context to support the story. A subject isolated against vague colors may look attractive, but a subject placed within a meaningful environment often looks more powerful.
-
Compose in widescreen thinking. Many cinematic images benefit from a horizontal frame or a crop inspired by film aspect ratios, such as 16:9 or 2.39:1. A wider frame encourages environmental storytelling and makes the viewer feel as if they are entering a scene.
-
Place the subject with purpose. Center composition can feel formal and intense, while off-center framing can create tension or movement. Use negative space to suggest loneliness, anticipation, or uncertainty.
-
Layer the frame. Strong cinematic photographs often have a foreground, middle ground, and background. Shoot through windows, curtains, doorways, rain, plants, or reflections to create depth. Layers make a still image feel closer to a living scene.
-
Control the background. A distracting background weakens cinematic impact. Remove bright clutter, simplify shapes, and look for lines that guide attention toward the subject. Professional-looking images depend as much on what is excluded as on what is included.
-
Use color contrast. Film-like images often rely on controlled color relationships: teal and orange, red and green, blue and yellow, or warm skin against cool surroundings. The goal is not exaggeration, but separation and mood.
-
Create a consistent color grade. Color grading is one of the strongest cinematic tools. Lower overly bright saturation, protect skin tones, and guide shadows and highlights into a coherent palette. A serious grade should feel motivated by the scene, not added as a fashionable preset.
-
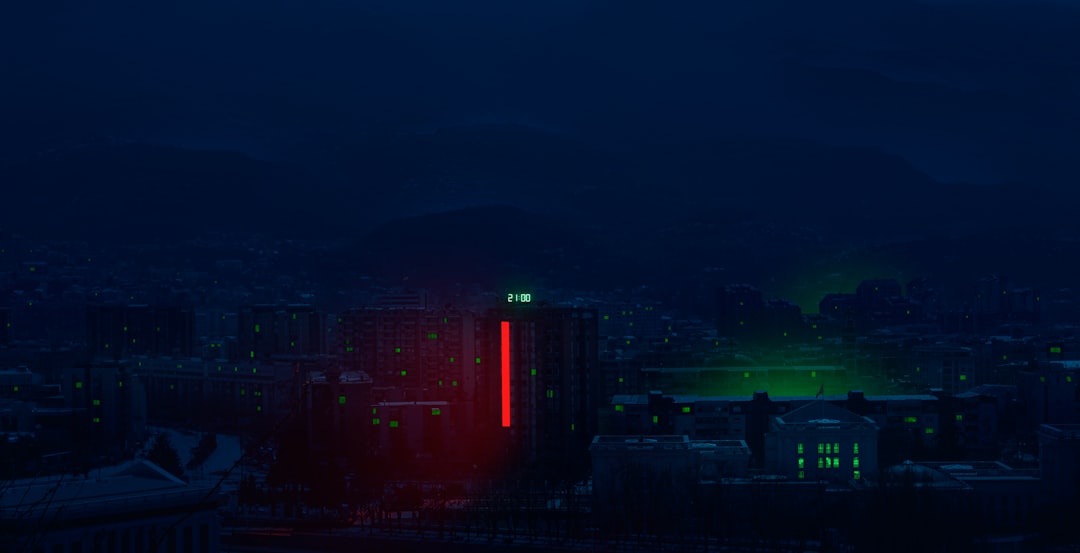
Protect highlight detail. Digital cameras can clip highlights harshly. Expose carefully, especially around skies, windows, white clothing, and practical lights. Slightly darker exposure is often easier to shape in editing than blown-out bright areas.
-
Add practical light sources. Lamps, candles, phone screens, car lights, and signs can make a scene more believable. These visible sources explain why the light exists, which gives the photograph a natural cinematic logic.
-
Use motion and stillness deliberately. A slightly blurred passerby, moving dress, drifting smoke, or falling rain can add life. Conversely, a perfectly still subject in a busy environment can create psychological tension.
-
Direct expression and body language. Cinematic photography is closely connected to performance. Avoid generic posing. Ask the subject to wait, listen, look away, hesitate, or react to something outside the frame. Small gestures often feel more authentic than dramatic poses.
-
Use location as a character. Streets, diners, bedrooms, train stations, parking lots, and empty fields all carry emotional meaning. Select locations that support the narrative rather than merely providing a nice backdrop.
-
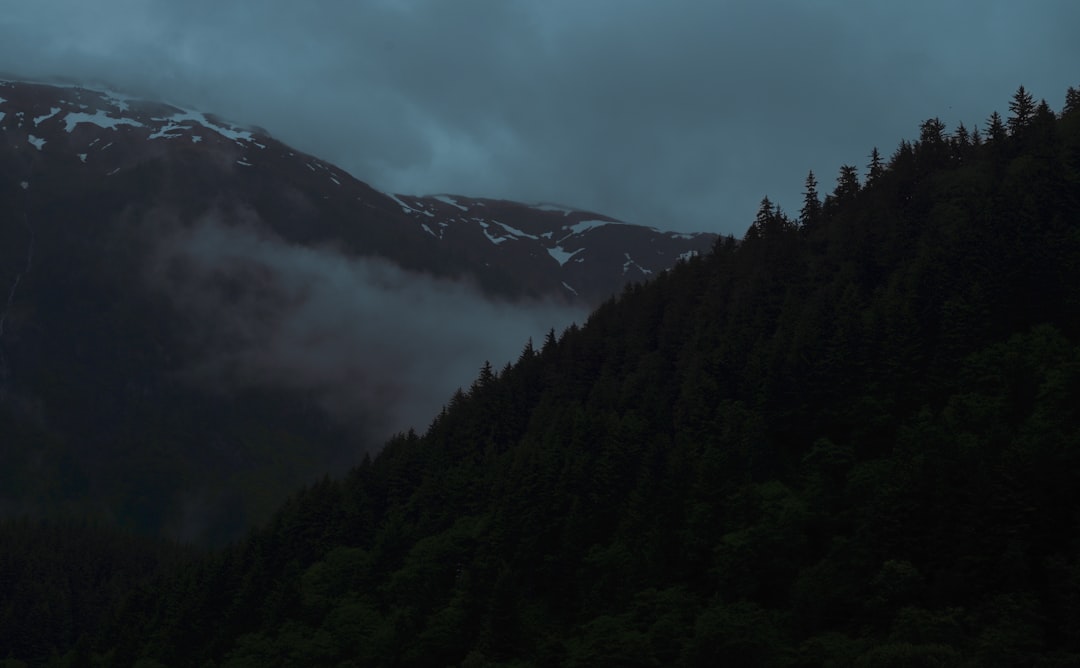
Introduce atmosphere. Fog, mist, rain, dust, smoke, and textured glass can soften light and add dimension. Use these elements responsibly and safely, especially indoors. Atmosphere should support the image, not hide weak composition.
-
Add subtle grain and texture. Film grain can help reduce the sterile sharpness of digital files. Keep it restrained. Excessive grain, heavy vignettes, and artificial scratches can make an image look imitative rather than cinematic.
-
Edit with restraint and consistency. The final image should look polished, not overprocessed. Avoid extreme clarity, crushed blacks, plastic skin, and unrealistic color shifts. If you are building a series, keep contrast, tones, and crop style consistent so the images feel like frames from the same story.
Practical Workflow for a Cinematic Shoot
Begin with a simple visual brief: one mood, one location, one main color palette, and one lighting idea. For instance, a “lonely late-night walk” might use blue shadows, warm shop windows, wet pavement, and a wide crop. This preparation helps you make faster, more coherent decisions on location.
During the shoot, review the frame for four essentials: light, background, gesture, and color. If one of these is weak, adjust before taking more images. Move the subject two meters, wait for a car’s headlights, change your angle, or remove a distracting object. Cinematic quality usually comes from small corrections made repeatedly.
Common Mistakes to Avoid
-
Relying only on presets: A preset cannot fix poor light, weak composition, or unclear storytelling.
-
Overusing teal and orange: This palette can work, but it becomes predictable when applied without purpose.
-
Making every image too dark: Cinematic does not mean underexposed. Detail, separation, and readability still matter.
-
Ignoring the subject’s role: A person in the frame should appear connected to the scene, not pasted into it.
Final Thoughts
Cinematic photography is a combination of craft and judgment. The most convincing film-like images are not defined by a single color grade or crop; they are built from decisions that serve mood and story. When you control light, compose with intention, direct believable moments, and edit with discipline, your photographs begin to feel less like isolated snapshots and more like fragments of a larger narrative.